Creating a custom sign involves a detailed process that turns ideas into a tangible product. From conceptualization to installation, each step is crucial in ensuring the final sign meets expectations.
This journey includes understanding the client’s needs, designing the sign, fabricating it with quality materials, and finally installing it at the desired location.
Custom signage not only serves as an important communication tool but also enhances the overall aesthetic of a space. The right sign can attract attention, convey messages clearly, and reflect a brand’s identity.
Readers will learn about the essential phases in creating a custom sign and how each part contributes to the final outcome.
Key Takeaways
- The process includes conceptualizing, designing, and fabricating.
- Quality assurance is vital for a long-lasting sign.
- Proper installation and maintenance keep the sign looking its best.
Understanding Custom Signs
Custom signs play a vital role in branding and conveying important messages. They come in various types and materials, catering to different business needs and environments.
Types of Custom Signs
Custom signs can be categorized into several types based on function and location.
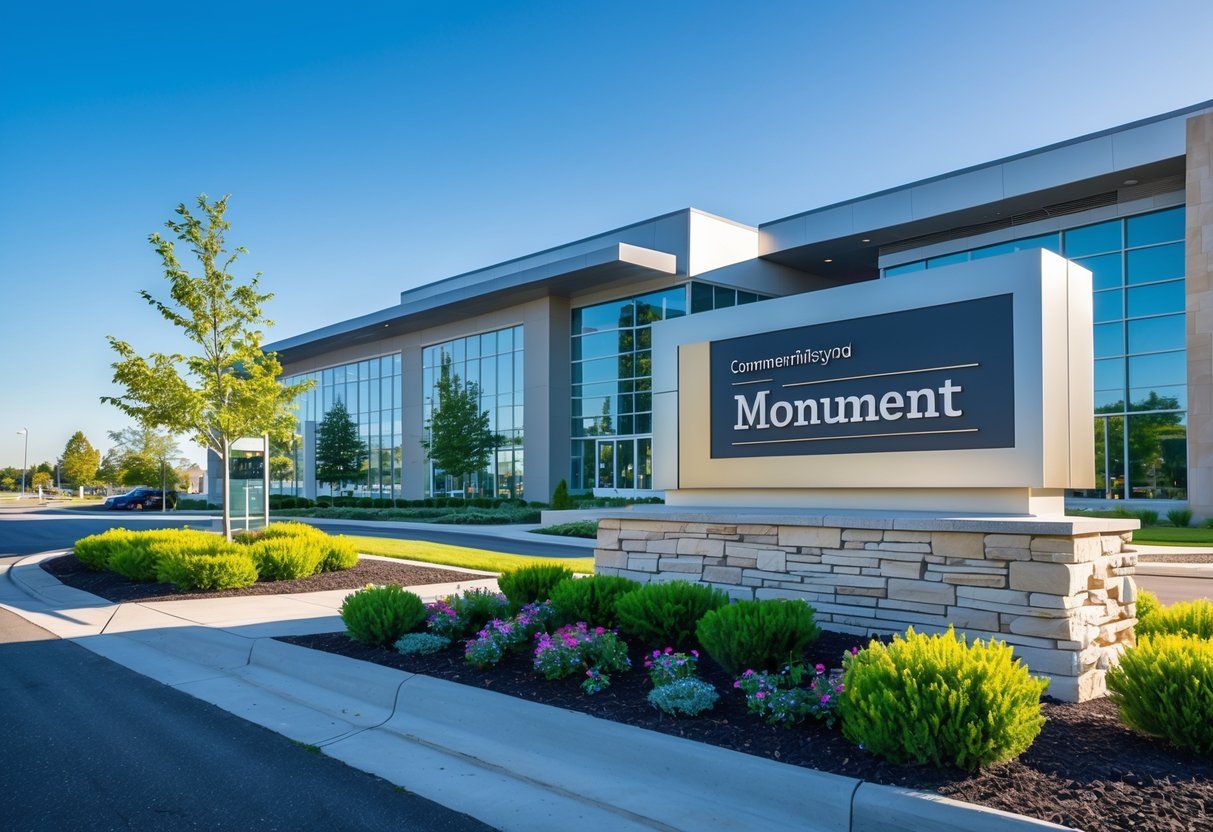
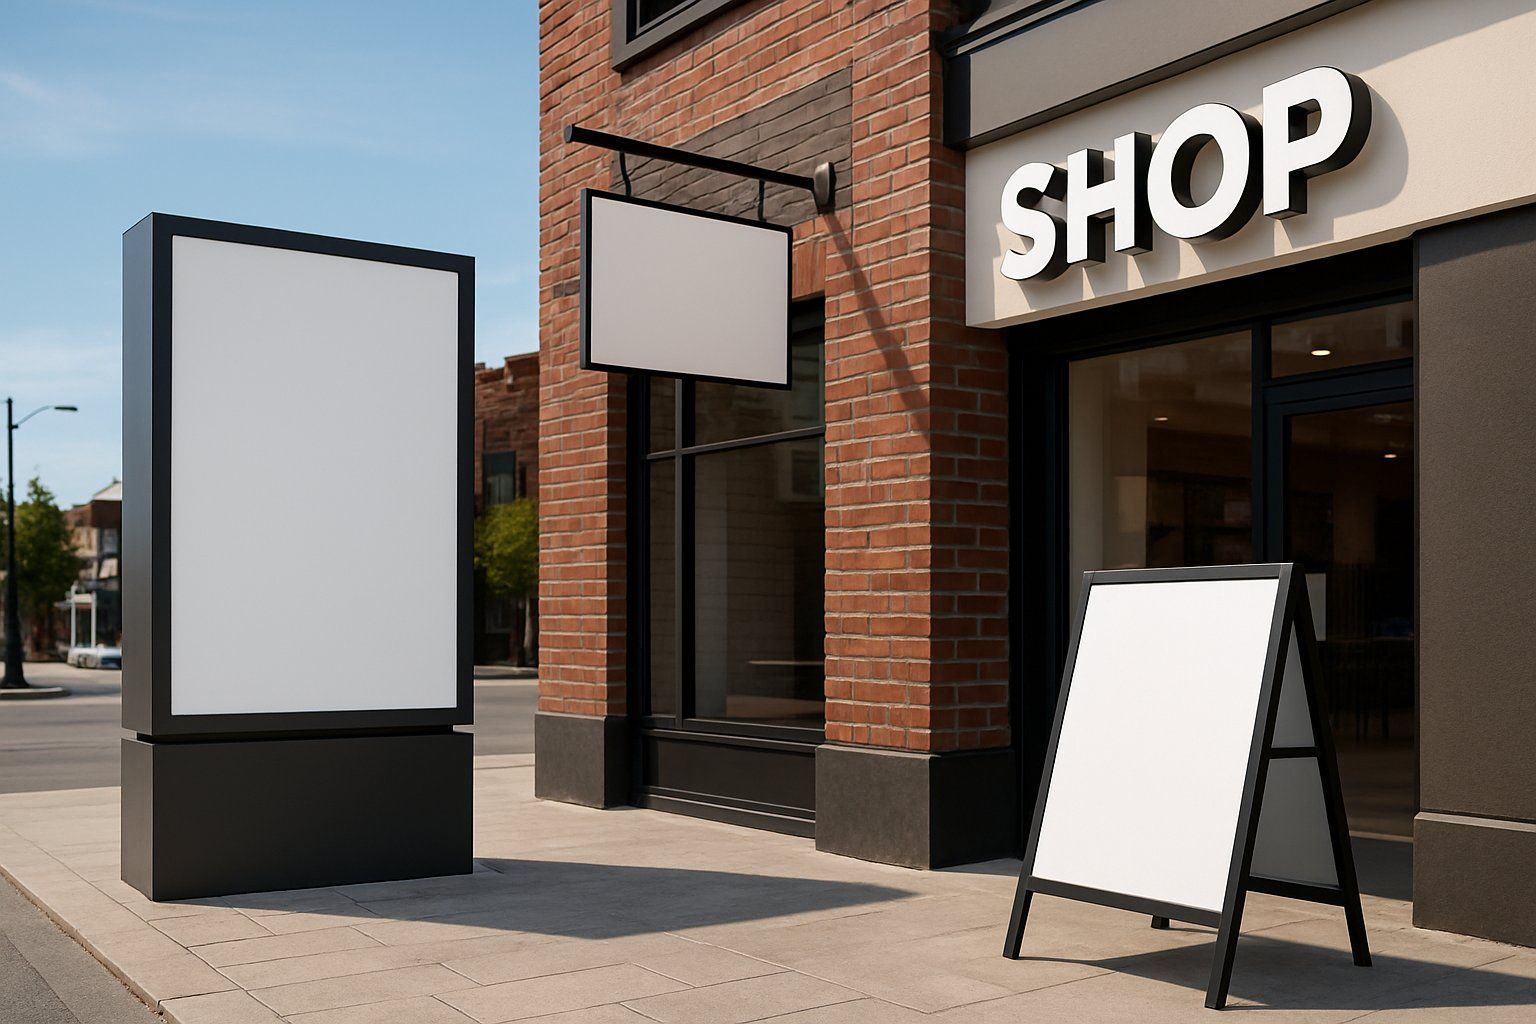
Outdoor signs
include storefront signs and monument signs, which attract attention from potential customers. Indoor signs
help with navigation and provide information within a space, such as wayfinding signs or directional markers.
Digital signs are gaining popularity too. These allow for easier updates and can display various messages.
Commercial signs
are often used for advertising, while branding signs promote a business’s identity.
Each type has its own purpose and placement, making the selection crucial for effective communication.
Importance of Signage for Business
Signage is essential for any business. A well-designed sign attracts customers and represents the brand’s image. Quality signage can enhance visibility, making a business stand out from competitors.
Effective signs also improve wayfinding, helping customers navigate a space easily. They communicate necessary information, promoting a professional appearance.
High-quality signs convey a message of reliability and trustworthiness, impacting customer perception positively. With the right signage, businesses can increase foot traffic and boost sales.
Material Considerations
Choosing the right materials for custom signs is important for durability and appearance.
Common materials include aluminum
, known for its weather resistance, making it great for outdoor signs. Acrylic
is popular for its sleek look and can be used for both indoor and outdoor applications.
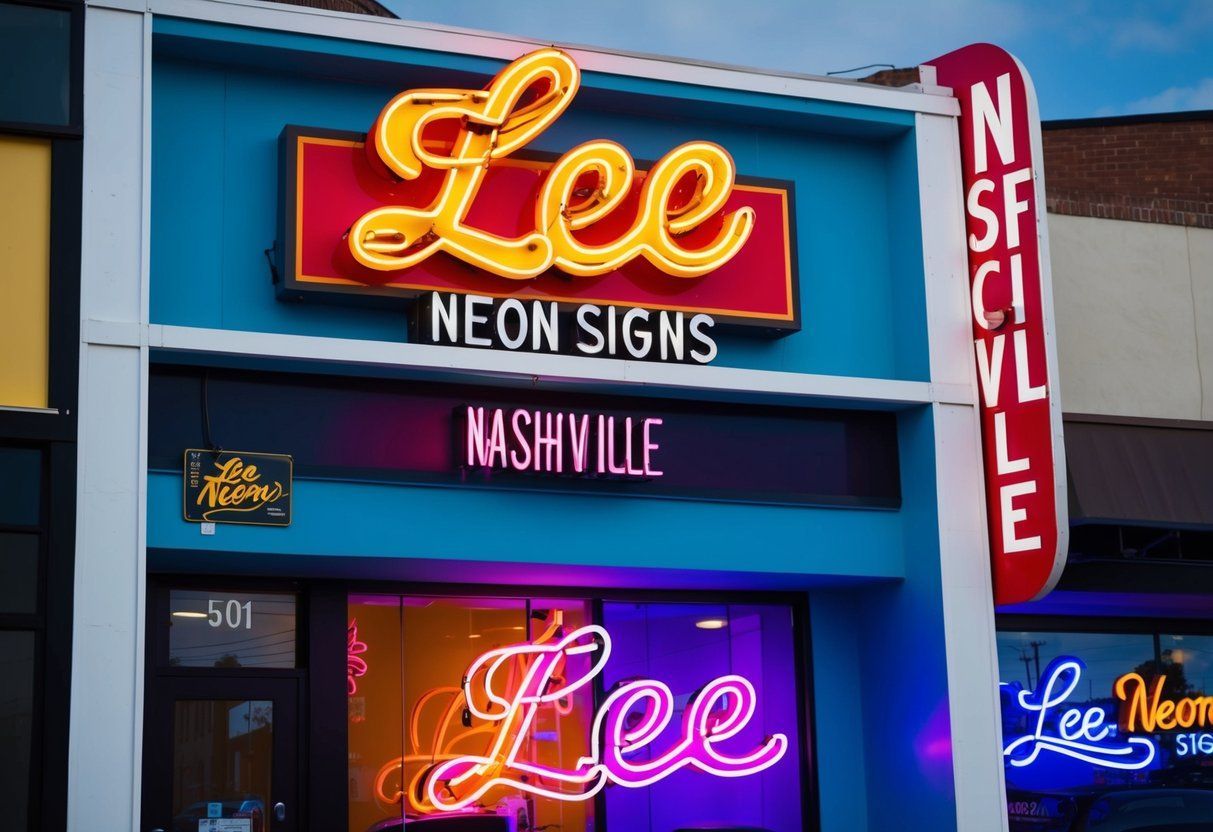
Neon signs are visually striking and can attract significant attention.
Material selection affects the sign’s longevity and maintenance needs. Each option has its own pros and cons, influencing the sign’s cost and aesthetic. Quality control during production ensures that the final product meets expectations.
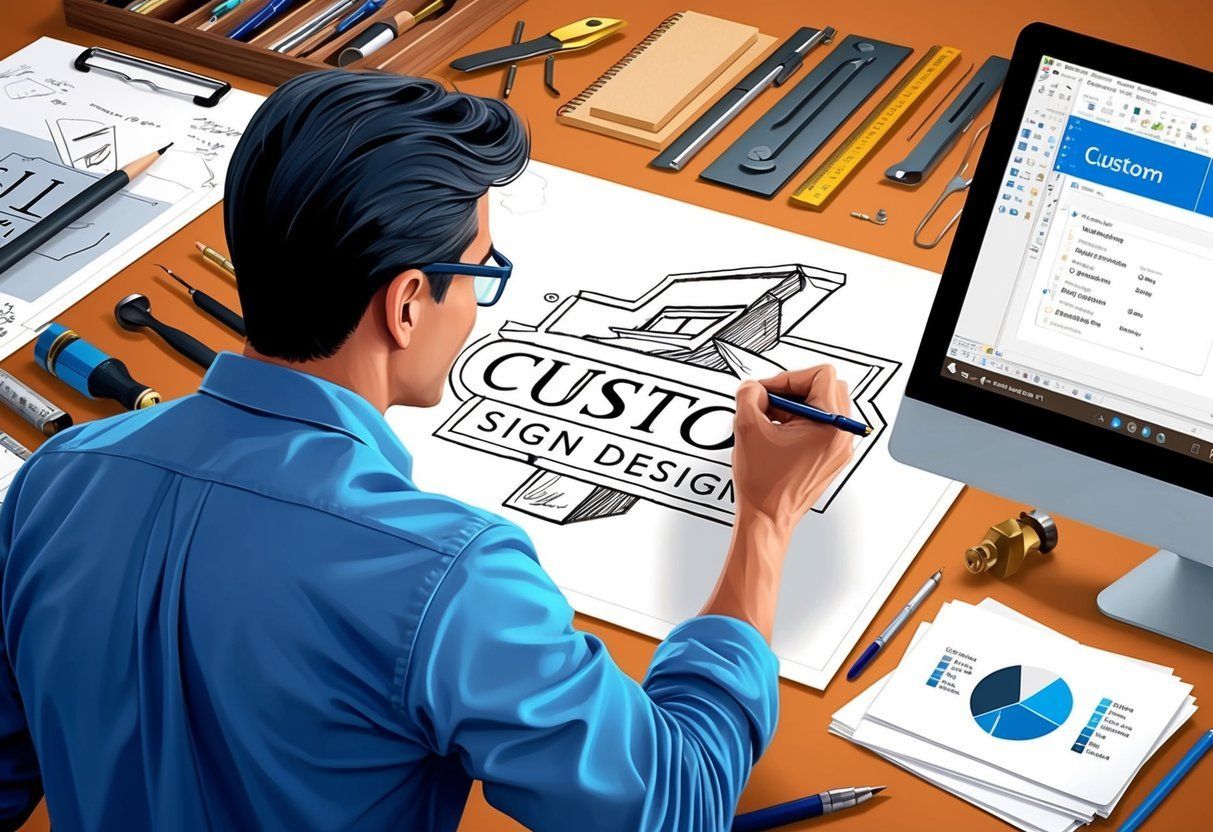
The Design Process
Creating a custom sign involves a structured design process that ensures the final product meets the client’s needs. Key steps include consultations, concept development, and review phases.
Initial Consultation
During the initial consultation, the sign company engages with the client to understand their business needs. This meeting helps gather essential details about the project’s goals, location, and target audience.
Clients often discuss their vision for the sign, including desired text, images, and overall style. The sign company also assesses the site’s characteristics, such as visibility and lighting conditions. This information helps in planning the sign’s design effectively.
High-contrast colors are typically discussed to ensure the sign stands out. Understanding the budget and timeline is crucial at this stage as well.
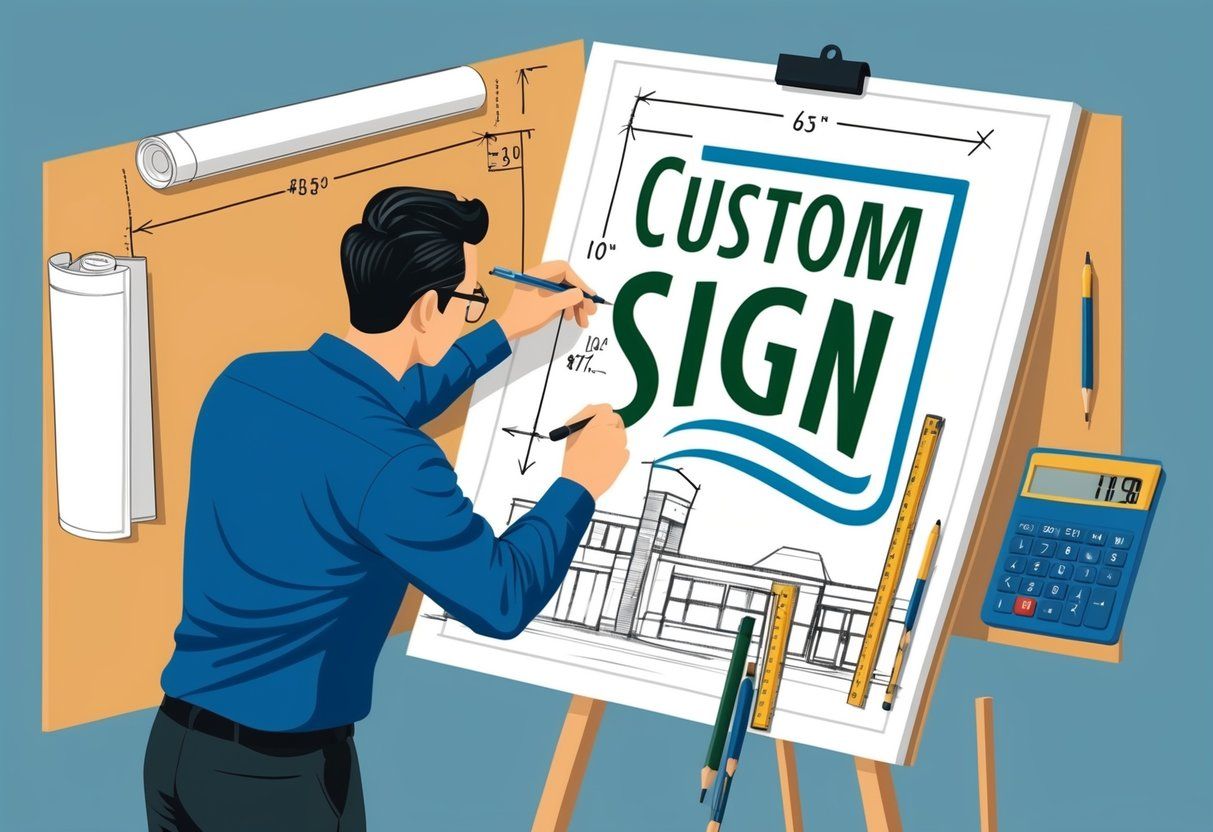
Concept Development and Mock-ups
After the consultation, the design team develops concepts based on gathered information. They create digital mock-ups to visualize the ideas discussed.
These mock-ups show different styles, colors, and layouts, allowing clients to see how their sign will look. Various options can be presented, giving clients an array of choices.
Feedback from the client is crucial in this stage. It helps refine the design and ensures it aligns with their vision. The design team considers feasibility to ensure ideas can be effectively turned into reality.
Review and Approval
Once the mock-ups are prepared, a review meeting occurs. The sign company presents the designs and gathers feedback from the client.
Clients might request specific changes, focusing on details like size, colors, or materials. The craftsmanship standards are discussed to ensure the sign will be built to last.
After addressing all concerns and making adjustments, the company gains final approval. This step is essential before moving on to the installation phase. Having a clear and agreed-upon design guarantees better satisfaction with the end product.
Fabrication and Quality Assurance
The process of fabrication involves several key techniques and steps aimed at producing high-quality custom signs. Alongside manufacturing, ensuring structural integrity and consistent quality control are crucial for durability and performance.
Sign Manufacturing Techniques
Various techniques are used in sign manufacturing, each suited to different materials and designs. Common methods include digital printing
, screen printing
, and vinyl cutting
.
- Digital printing
allows for detailed graphics and images, making it ideal for complex designs.
- Screen printing
is effective for producing bold colors and is often used for simpler logos and signage.
- Vinyl cutting
is popular for creating precise letters and shapes, which can be applied to various surfaces.
Each technique has its benefits, and the choice depends on the specific requirements of the sign.
Ensuring Structural Integrity
Structural integrity is critical to ensure that signs withstand environmental factors. This includes assessing the materials used in fabrication, like aluminum, acrylic, or wood.
Welding is often employed for metal signs to provide strong joints. Proper assembly techniques also contribute to durability, such as using brackets
or supports
strategically to prevent bending or warping.
Regular testing for stability, especially in outdoor settings, is essential. Signs must endure wind, rain, and other weather conditions.
Quality Control Measures
Quality control ensures each sign meets the desired standards before it reaches the client. This process includes several steps and checks.
First, all raw materials are inspected for defects. Workers follow specific checklists
during the manufacturing process to catch any issues early.
Final products undergo a thorough inspection for consistency in color, design, and structural soundness. Additionally, signs are tested for functionality, ensuring they perform as intended.
Documentation of each step in the process helps maintain accountability and traceability.
Pre-Installation Requirements
Before starting the installation of a custom sign, it is important to consider several key elements. These factors include understanding local regulations and preparing effectively for the actual installation process.
Navigating Local Regulations
Before any installation, one must check local regulations carefully. These laws can guide sign size, placement, and lighting.
- Permitting:
Some areas require permits for sign installation. This process can take time, so plan ahead.
- Building Codes:
Signs must meet local building codes to ensure safety. These codes cover structural integrity and include specific guidelines for assemblies and electrical components.
- Zoning Laws:
Understand if the location falls under commercial or residential zoning, as this impacts acceptable sign types.
Confirming compliance with these rules helps avoid delays and potential fines.
Preparation for Installation
Preparation is crucial for a successful installation. Proper steps taken can make a significant difference.
- Feasibility Study:
Assess the location to determine if the sign can be installed safely. This involves soil testing if it’s a freestanding sign.
- Engineering Assessments:
Consult with an engineer if the sign has heavy electrical or lighting components. They can ensure safe assembly and support.
- Tools and Materials:
Gather all required tools, such as drills, levels, and sanding equipment for surface preparation.
- Electrical Setup:
If the sign includes lighting, ensure electrical connections comply with safety standards.
Effective preparation can help streamline the installation process and create a durable, compliant sign.
The Installation Process
The installation process includes on-site assembly and final touches to ensure the custom sign is ready for use. These steps are crucial for maintaining quality and ensuring the sign meets the client’s expectations.
On-Site Sign Assembly
On-site sign assembly is where the sign often comes to life. Teams typically arrive with all the necessary parts and tools to put the sign together.
Depending on the sign type, this may involve attaching letters, mounting brackets, or support structures.
If the sign includes electrical components, connections must be made carefully. This typically involves:
- Wiring the sign
to the power source
- Testing electrical components
to ensure they function properly
After assembling the sign, teams check for any flaws. Quality control is essential at this stage, as it helps to ensure the sign not only looks great but functions correctly as well.
Final Touches and Review
Final touches enhance the sign’s appearance and usability. This includes cleaning the sign and ensuring all components are securely attached. Crews may apply protective coatings depending on the materials used.
Before wrapping up, they conduct a thorough review. This check often includes:
- Inspecting for any damage
- Confirming that all lights and features are operational
This step is important for client satisfaction. Once everything is confirmed, the sign is ready for use. A maintenance plan may also be discussed to ensure longevity.
Maintenance and Care
Proper maintenance and care are essential to ensure the longevity of custom signage. Keeping signs in good condition helps maintain their appearance and effectiveness. Consider the following aspects for long-term upkeep.
Long-term Sign Maintenance
Regular cleaning can greatly extend the life of a sign. Using mild soap and water is typically safe for most materials. Avoid harsh chemicals that can damage the surface.
Consider inspecting signs regularly for any signs of wear or damage. This includes checking for fading, peeling, or rust. Addressing issues early can prevent more extensive repairs later.
Weather conditions can affect signage durability. Signs in harsh environments should receive extra attention. Protective coatings may help shield against the elements.
Quality control during installation can also affect maintenance needs. Proper placement and mounting can lessen potential damage. With routine care, custom signs can last many years, keeping their message clear and visible.
Frequently Asked Questions
This section addresses common questions about the process of creating a custom sign. It covers design steps, materials used, timelines, installation, maintenance, and quality assurance.
What are the initial steps in designing a custom sign?
The first step is to identify the purpose of the sign. This helps shape the design and messaging.
Next, brainstorming ideas on style, colors, and fonts occurs. Sketches can help visualize the final product.
Finally, developing a rough draft of the layout will guide the next steps.
What materials are typically used in custom sign fabrication?
Common materials include acrylic, metal, wood, and vinyl. Each material offers different looks and durability.
Acrylic is lightweight and can be clear or colored. Metal can provide a strong and modern appearance.
Wood provides a classic feel, while vinyl is often used for banners and flexible signs.
How long does it typically take to design and fabricate a custom sign?
The design process can take anywhere from a few days to weeks, depending on complexity.
Fabrication usually requires additional days to weeks, based on size and material.
Planning ahead helps in meeting deadlines.
Can you describe the installation process for custom signage?
Installation starts with evaluating the location where the sign will go.
Next, tools and supports are gathered according to the sign’s needs.
Finally, the sign is securely mounted, ensuring it is level and safe.
What are the maintenance requirements for custom signs post-installation?
Maintenance includes regular cleaning to keep the sign visible and attractive.
The frequency of cleaning depends on location and weather exposure.
Periodically checking for damage or wear is also important to ensure longevity.
How do you ensure quality and durability in the custom sign-making process?
Quality control starts with sourcing high-grade materials.
Skilled artisans pay attention to detail in both design and fabrication.
Finally, signs undergo testing for durability in various weather conditions before installation.…